
This Rustic Artisan Bread can be made in as little as four hours and requires no kneading! With a thick & chewy crust and soft interior, it's the perfect bread to serve slathered with butter & jam or to dip into your favorite soup!
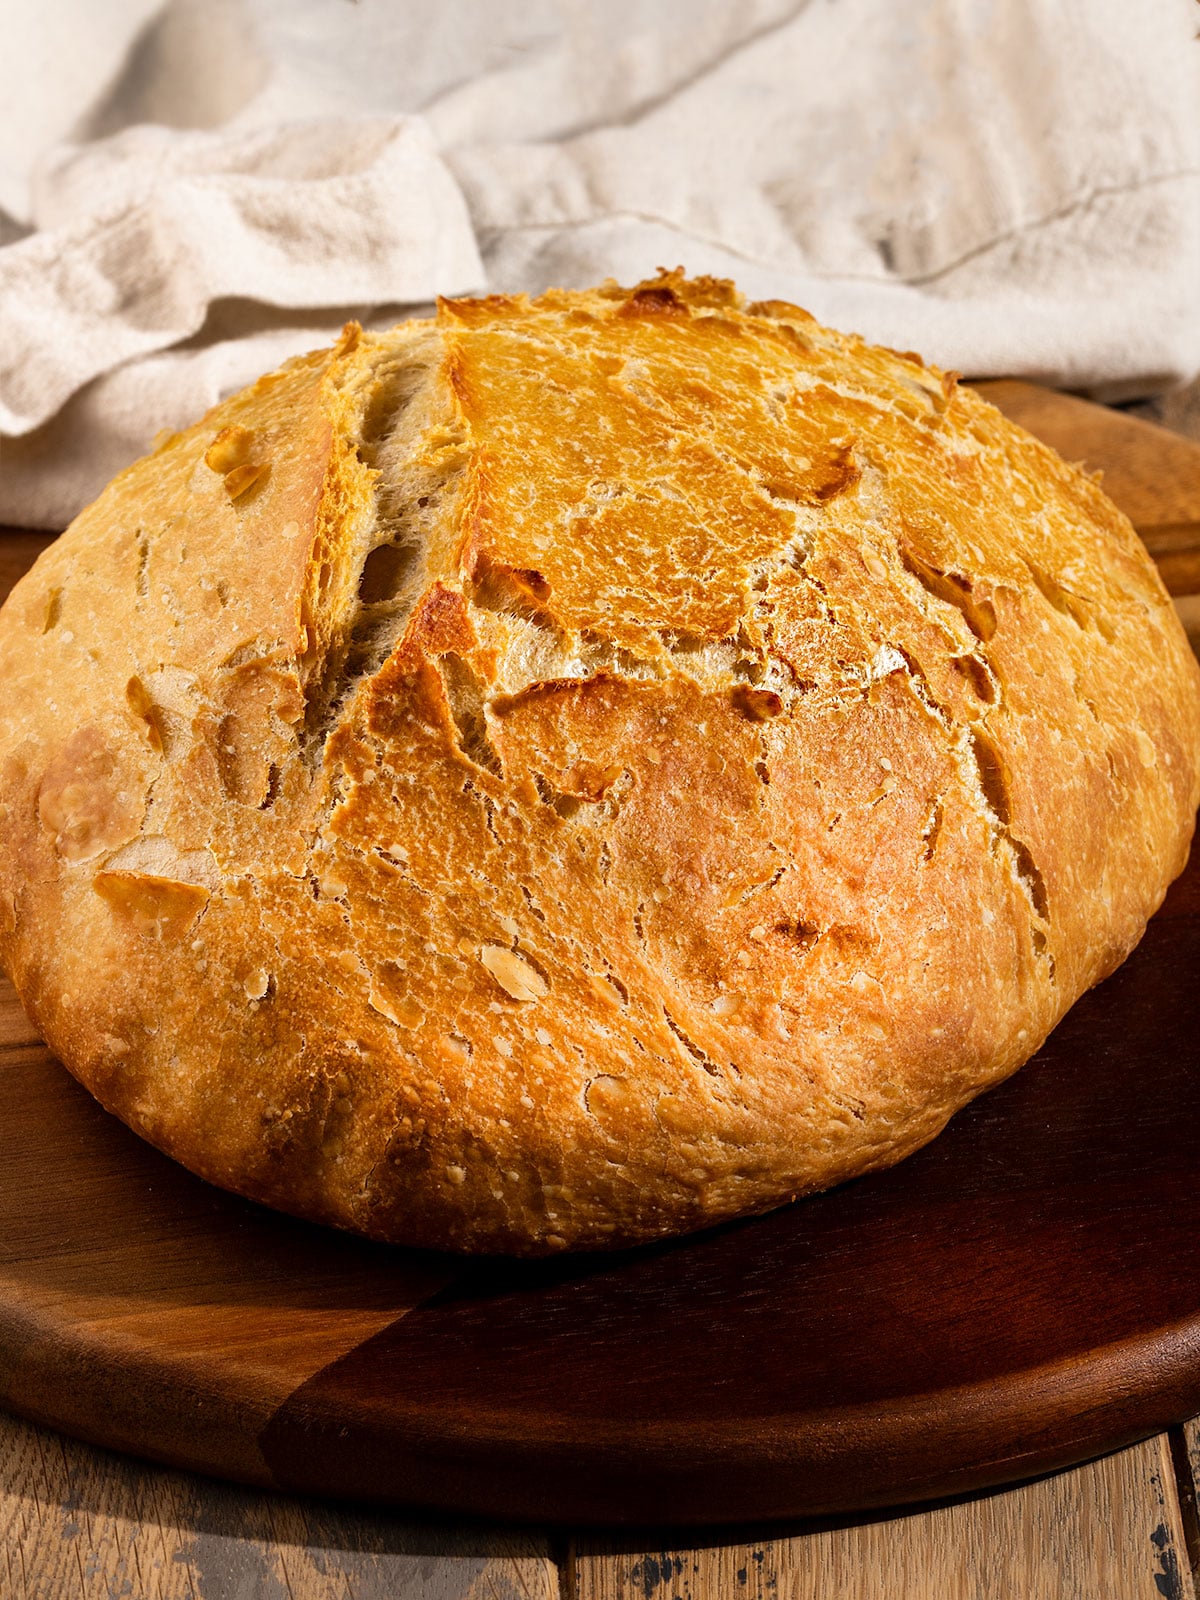
I am a BIG fan of making homemade bread- such as my Rosemary Focaccia, Vegan Challah, or Spelt Sandwich Bread.
However, this rustic bread is my absolute go-to when I want something to serve alongside a big bowl of homemade soup or a big Summer salad. It's simple, delicious, and is the best bread for beginners!
Ingredients:
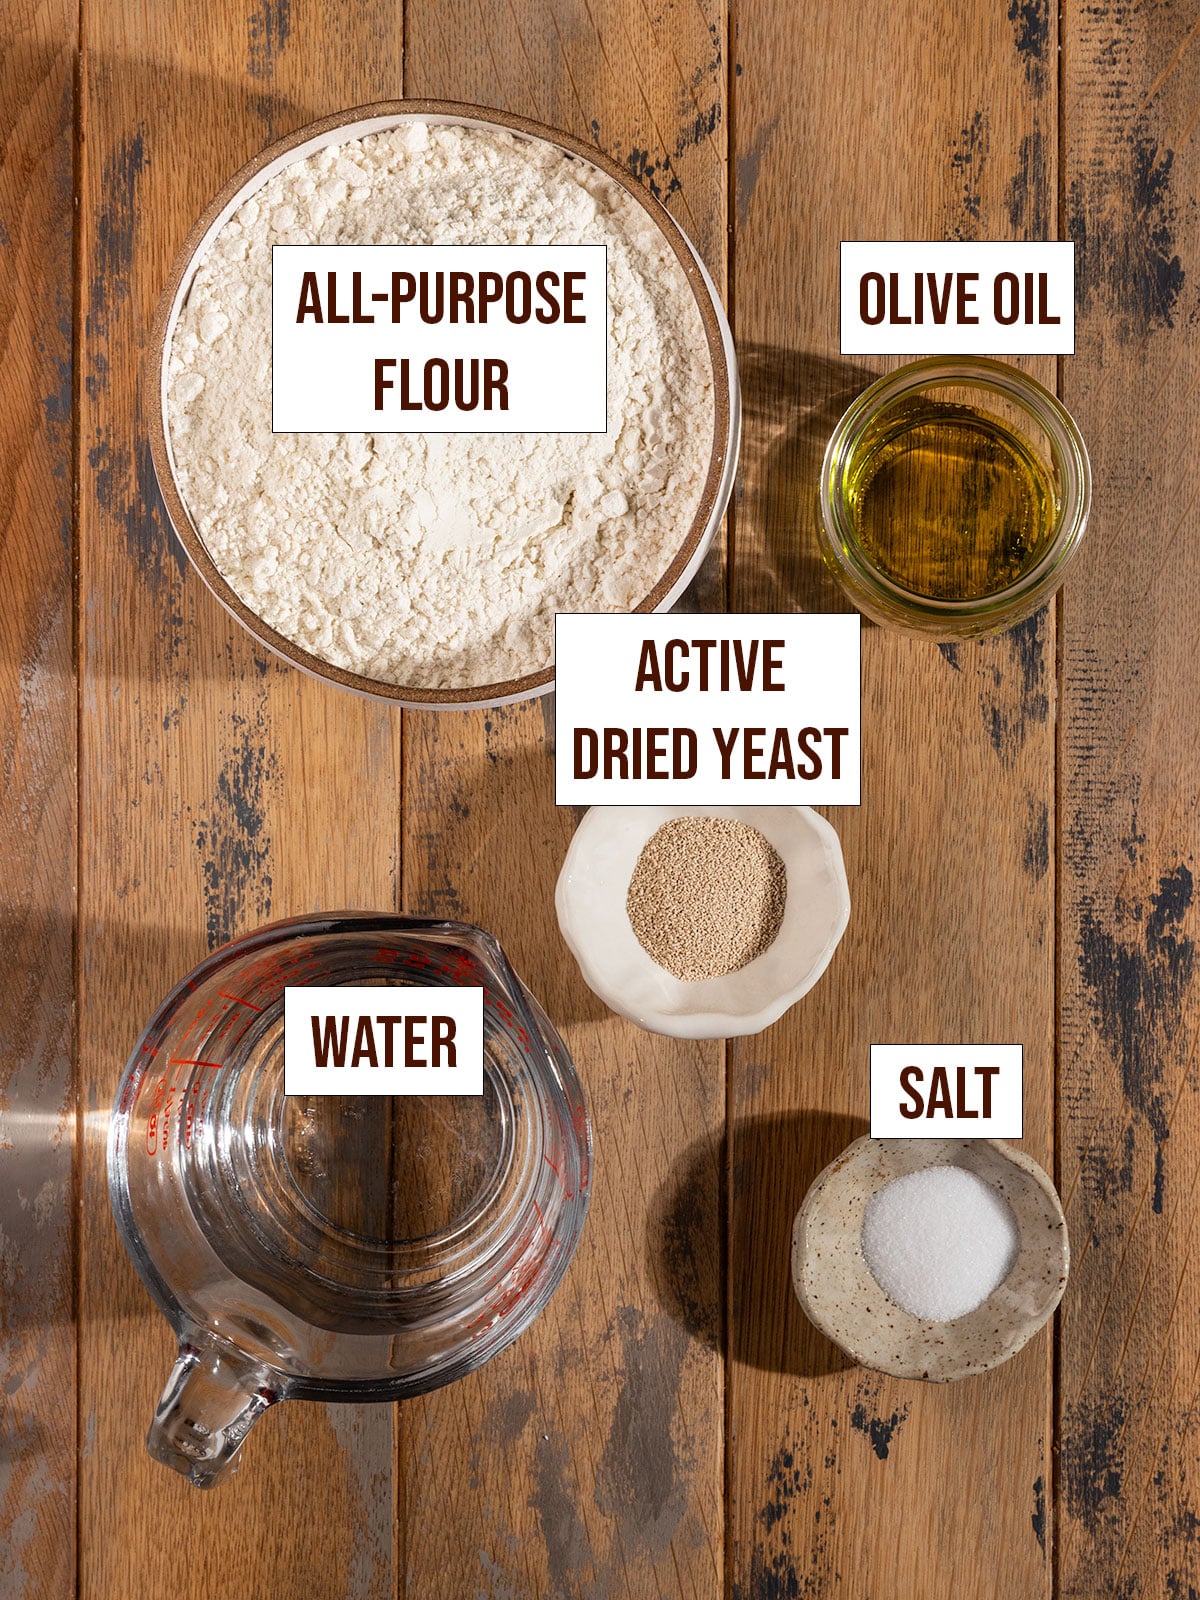
Ingredient & substitution notes:
- All-purpose flour: This bread was made with all-purpose flour; however, it works JUST as well with bread flour!
- If swapping, just make sure to follow the gram measurements vs. volume, as bread flour tends to weigh a bit more than all-purpose flour (130g vs 125g) and you will need slightly less bread flour.
- Active dried yeast: I used Red Star active dried yeast in this recipe.
- You can also use instant yeast, but you won't need to bloom the yeast in warm water.
- Salt: Don't skip this as it's crucial to add flavor to the dough!
- Olive Oil: We use just a little olive oil here to impart a softer crust and more moist bread while still allowing the bread to get crispy and chewy!
- You can substitute any oil 1:1, but honestly, nothing will taste quite as good as olive oil here!
How to make artisan bread
Make the dough:
Start by blooming the yeast in lukewarm water for about 5 minutes until it dissolves. Next, mix in the olive oil.
Then, add the flour and salt and use a spatula to mix until no dry spots of flour remain. The dough will be pretty sticky, but that is okay and actually the desired consistency!
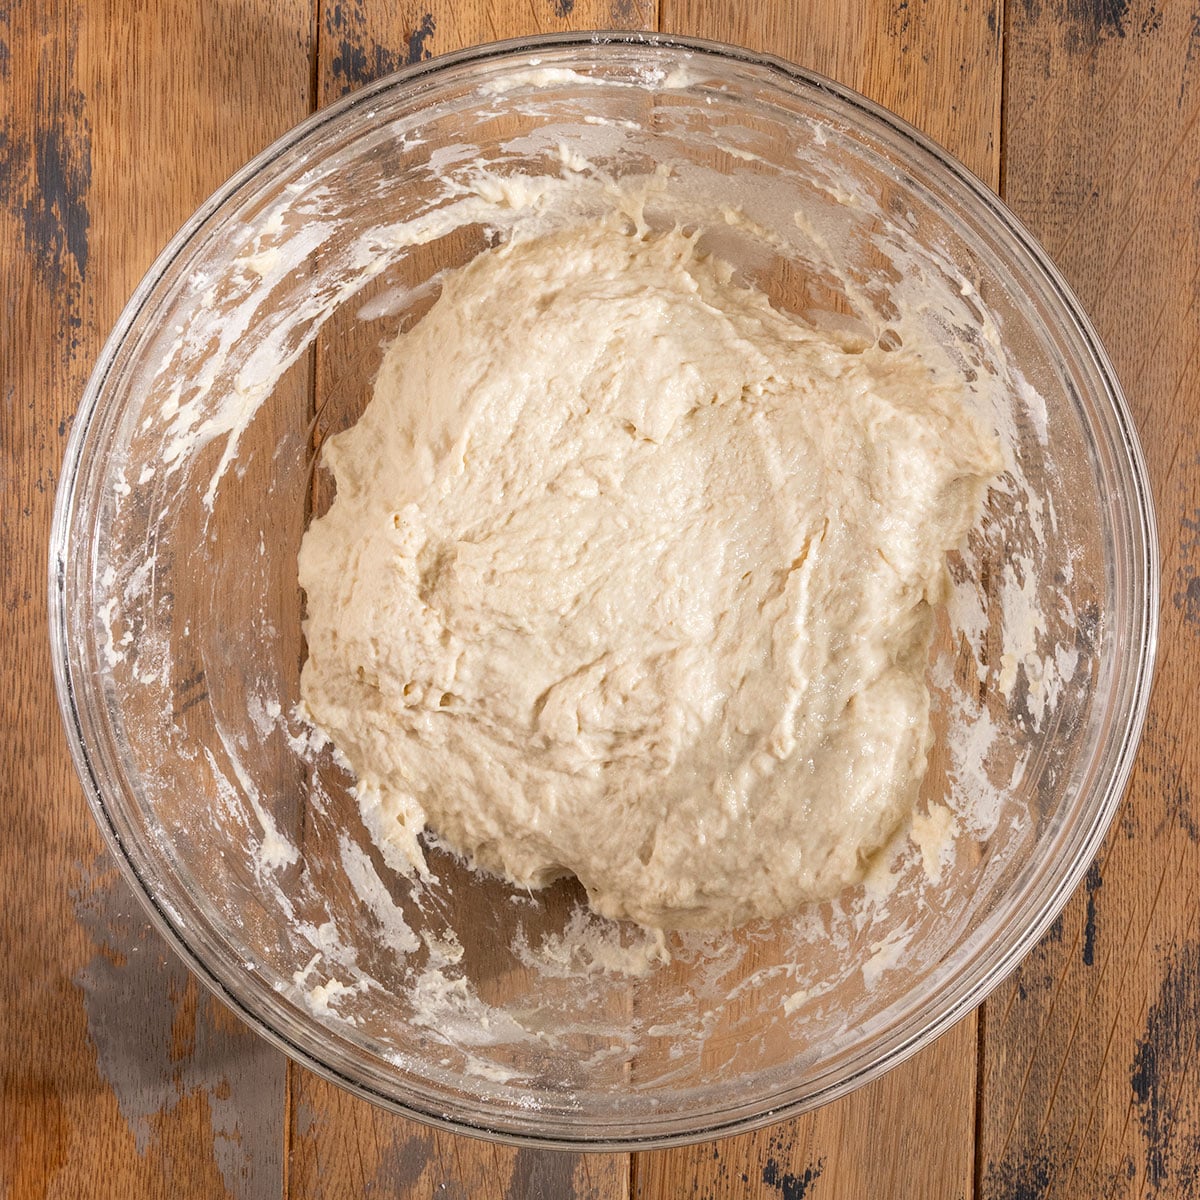
Let rise 2-3 hours:
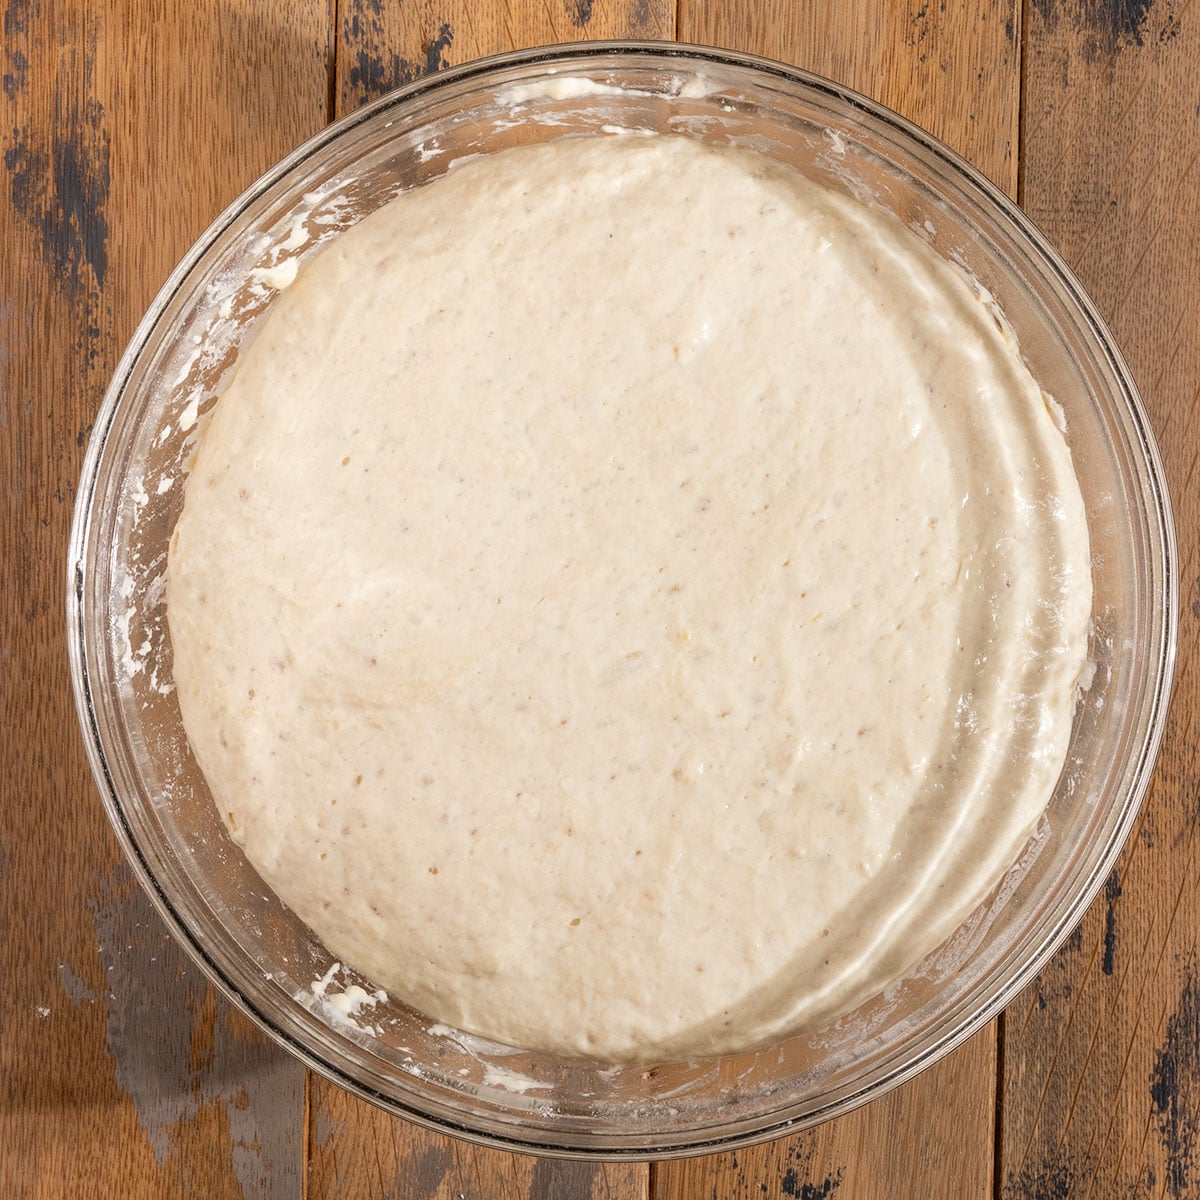
Cover the dough with plastic wrap or a tightly fitting towel and let it rise about 2-3 hours or until doubled in size.
Preheat oven & Dutch oven:
We are using a Dutch oven for this recipe as it creates steam inside the pot and keeps it hot to help the dough rise. It will give you that beautiful brown and crunchy exterior you want!
About 30 minutes before shaping the dough, turn the oven to 450F and preheat your Dutch Oven.
Scrape out dough & shape:
Once the dough has doubled in size, lightly flour your work surface. Use a bench scraper or spatula to scrape the dough onto your work surface. Then, fold the dough over onto itself a few times to shape into a rough ball.
Transfer the dough to your preheated Dutch oven and reshape if needed.
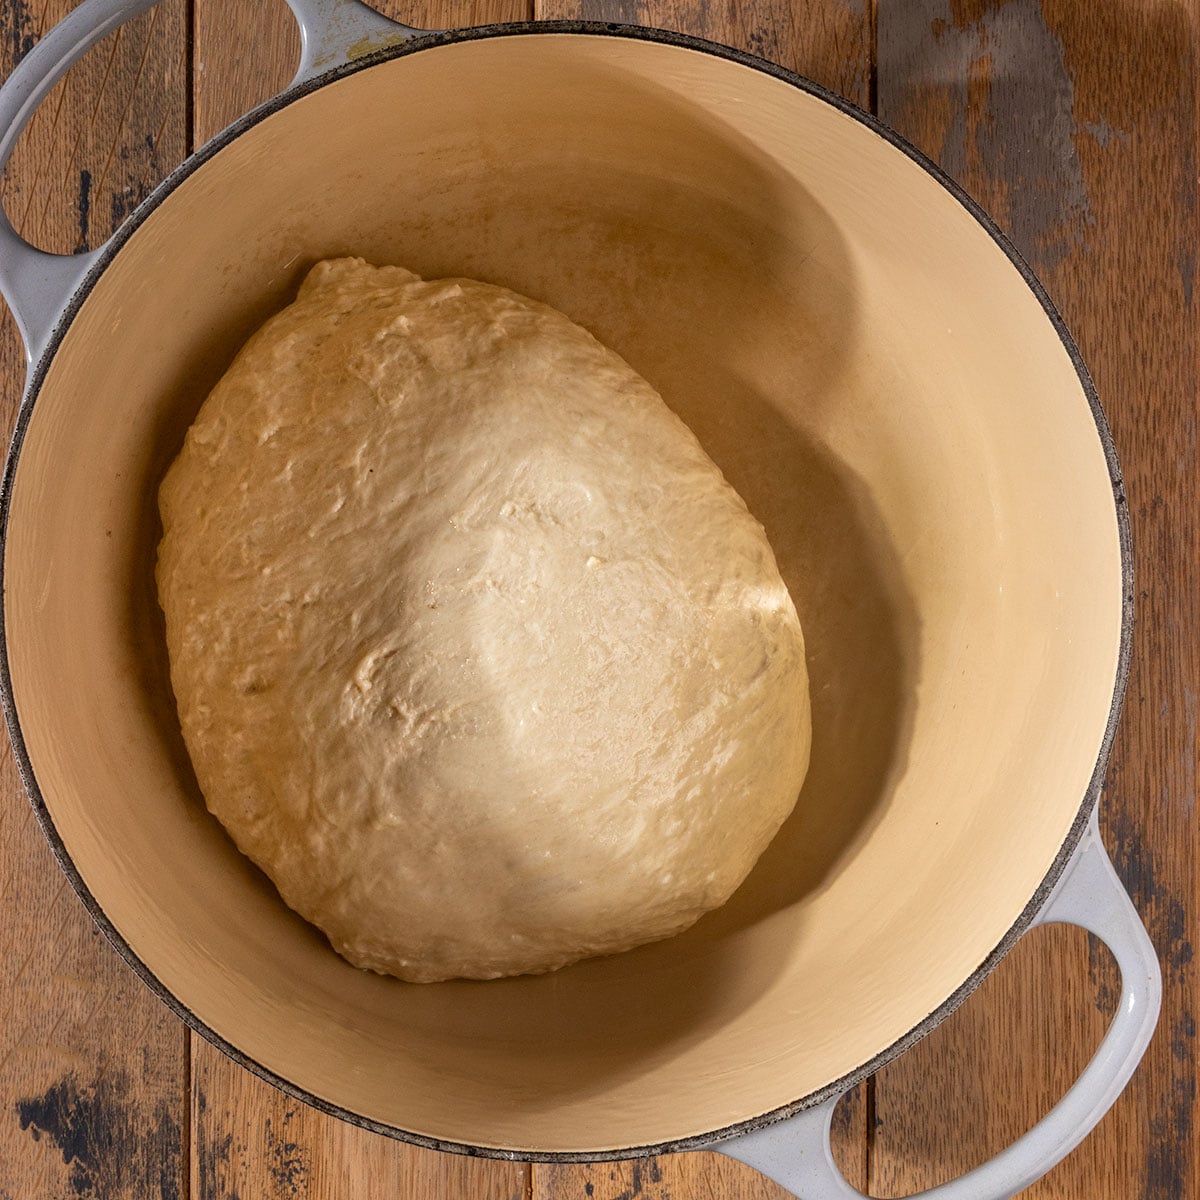
P.S: While many recipes call for baking the artisan loaf in parchment paper, I lightly oil the bottom of my enameled Dutch oven and bake my bread directly in there without issues!
Bake the bread:
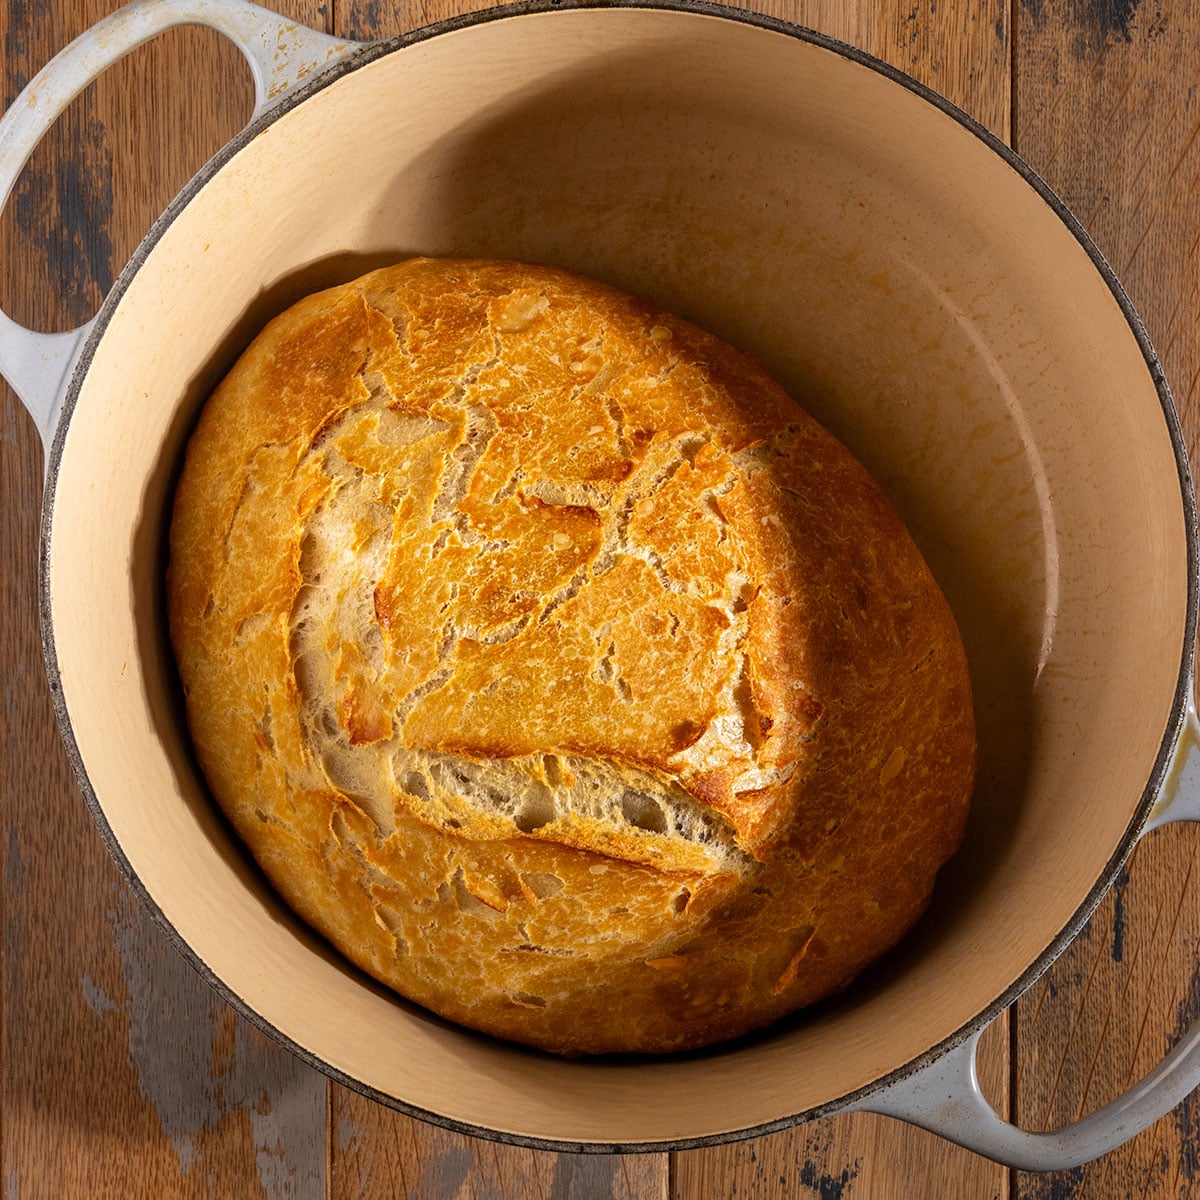
Add the lid to the Dutch oven and bake for 30 minutes. At the 30-minute mark, remove the lid and cook for an additional 15 minutes uncovered.
Let cool & slice:
Remove the Dutch oven from the oven and carefully move the bread to a wire rack to continue cooling.
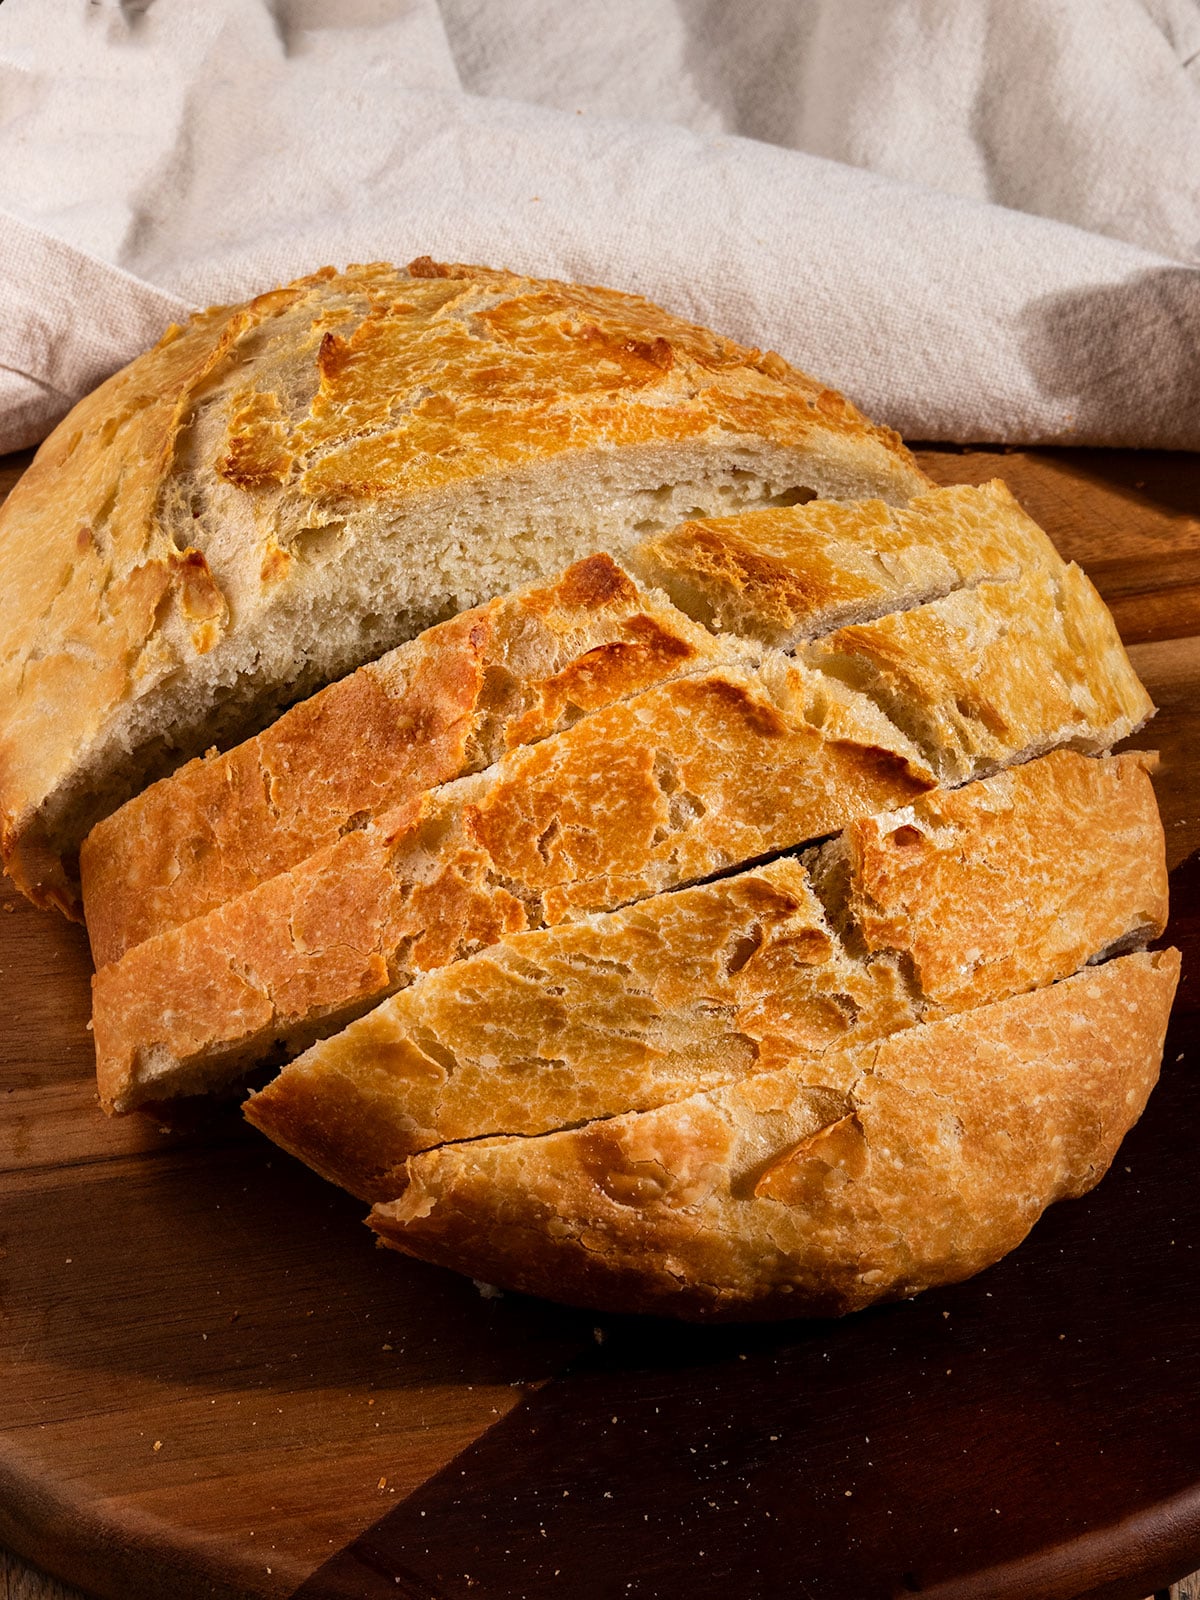
Let cool, then slice the bread and enjoy!
FAQ & Tips:
Can I make this artisan loaf gluten-free?
Unfortunately, you cannot. The gluten development is crucial to this recipe. If you need a gluten-free loaf, I'd recommend this recipe instead!
What can I bake this in if I don't have a Dutch oven?
If you do not have a Dutch oven to bake the bread in, you can bake this pizza on a sheet pan or pizza stone. If using a sheet pan, you may want to add a pan of water to the rack below the bread while it cooks to create extra steam.
The bread won't come out quite as crispy and browned on the outside, but the recipe will still work!
How do I store this bread?
You can store leftover bread in a loose brown bag for about 4 days at room temperature or in the fridge for up to 5-6 days (though the fridge will dry the bread out over time).
You can also freeze the bread and store it in the freezer for up to 2 months. If doing this, I recommend slicing it ahead of time and storing it in a freezer-safe bag so it's already pre-sliced!
What should I serve with this no-knead bread?
I'll be honest, my favorite way to enjoy this bread is with butter and jam on top or with a side of dipping oil!
However, it's also the PERFECT dunking bread for soups and stews. Try it with my Gnocchi Tomato Soup or Butternut Squash Apple Soup for the perfect weeknight dinner.
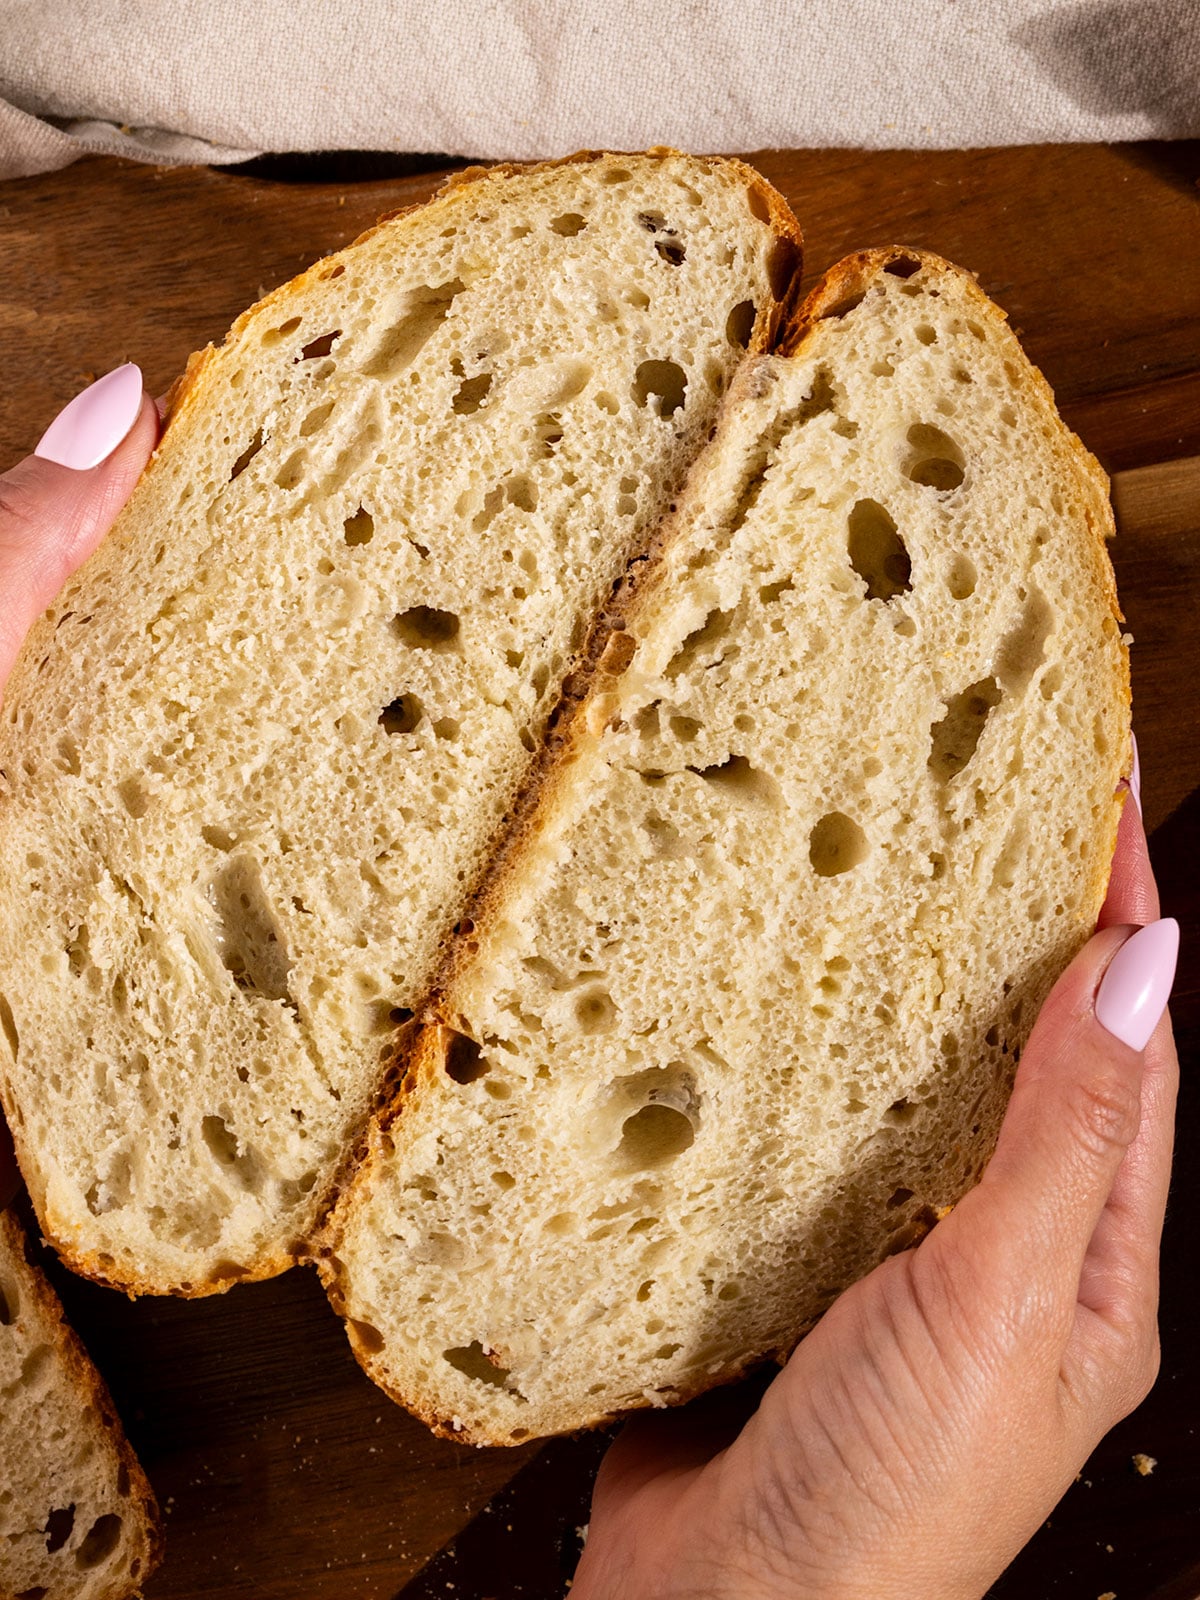
I can't wait for you to try this easy & Rustic Artisan Bread! With only 5 ingredients, it's the perfect recipe to make anytime you're craving homemade bread. Enjoy!
-TSG
More bread recipes you will love:



If you loved this recipe, please leave a 5-star review in the recipe card. I always appreciate your feedback and support! You can also follow along on my Instagram, Facebook, TikTok, and Pinterest or sign up for our newsletter!
Rustic Artisan Bread
Ingredients
- 1 ½ cups lukewarm water
- 2 teaspoons active dried yeast
- 1 Tablespoon olive oil
- 3 ¼ cups all-purpose flour
- 1 ½ teaspoons salt
Instructions
Make the bread dough & first rise:
- Begin by adding your lukewarm water and yeast to a large mixing bowl. Let it sit for 3-5 minutes to make sure the yeast is activated. You will be able to tell if it's bubbling and turns frothy. If using instant yeast, you can skip this step and add the yeast directly to the mix with the flour and salt.
- Next, add the olive oil to the mixing bowl and stir to mix.
- Then, add the all-purpose flour and salt and mix until no streaks of flour remain. I prefer using a spatula for this step as it helps to mix this high-hydration & sticky dough, but a wooden spoon also works.
- Once the dough is mixed, form it into a rough ball.
- Cover the bowl with plastic wrap and let it rise at room temperature for 2-3 hours or in the fridge for up to 24 hours. (If rising in the fridge, make sure to let it rest at room temperature for 30 minutes before shaping.)
Preheat oven & shape the bread:
- Preheat the oven to 450F. Lightly grease a Dutch oven and add it to the oven while it preheats (about 30 minutes).
- While the oven is preheating, shape the dough.
- Use a bench scraper or spatula to scrape the dough onto a lightly floured work surface. Then, fold the dough over onto itself a few times to shape into a rough ball. If the dough is too sticky to handle, sprinkle a light amount of flour over your hands as well to handle the dough.
- Remove the hot Dutch oven from the oven and place the dough inside (either as is if your Dutch oven is enameled or on a layer of parchment paper).
Bake the bread:
- Place the lid on the Dutch Oven filled with bread and add it to the oven to bake for 30 minutes.
- After 30 minutes, remove the lid from the Dutch oven and continue baking for another 10-15 minutes until the bread is browned and cooked through.
- Remove the bread from the oven and let it sit in the Dutch oven for about 5 minutes. Then, move it to a wire rack to continue cooling.
- Once the bread has completely cooled, slice and serve to enjoy!
Notes
- Please see the blog post for recipe tips & substitution ideas.
- You can store leftover bread in a loose brown bag for about 4 days at room temperature or in the fridge for up to 5-6 days (though the fridge will dry the bread out over time).
- You can also freeze the bread and store it in the freezer for up to 2 months. If doing this, I recommend slicing it ahead of time and storing it in a freezer-safe bag so it's already pre-sliced!


Leave a Reply